Figure-Ground Relationship
Gestalt Psychology and Your Photography - #1
Figure-ground relationship (“FGR”) is a Gestalt psychology principle. The idea is that the human mind seeks a clear distinction between figure (subject) and ground (background). Unless we intend to create feelings of confusion or unease, we should try to maintain a clear distinction between the subject and the background in our photography. This article explores ways to do that.
Perhaps the most well-known example of FGR and visual ambiguity is Rubin’s vase.
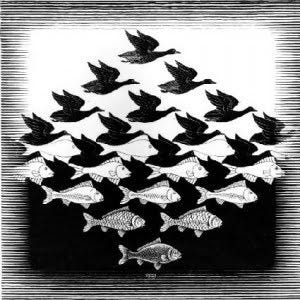
I don’t know about you, but when I look at this image it flickers between the vase and two faces. I find it difficult to look at. Of course it doesn’t really flicker. That’s my mind playing tricks because of the visual ambiguity of the foreground and background baked into the image. M.C. Escher built a career on visual ambiguity. Take, for example, Sky and Water I from 1938:
If you look at the middle of the piece, you will see the same trick found in Rubin’s vase, but M.C Escher carried it a step further by reducing the ambiguity on the top and bottom of the image by using separation and contrast.
Separation and contrast decrease visual ambiguity and help the viewer easily identify the subject of your work and its relationship to the background.
The Notional Blank Canvas.
When you want to separate a subject from the background, you can put a contrasting canvas behind your subject. Of course you can’t put a real canvas behind every subject unless you happen to have one with you or you are in a studio. However, I’m not talking about a real canvas but a notional one.
When you couple a notional canvas that provides subject separation and contrast with an aspective view of your subject, you can create a visually powerful image with no ambiguity. In essence, look for ways to put a dark subject on a light background or a light subject on a dark background.
How to Create a Canvas for Your Subject.
Find a Different Perspective.
In the photo below, my main goal was to photograph this running dog in a way where there would be no overlap between it and the surf while also maintaining the line of clouds.
To place the dog where I wanted, I had to kneel and pan the camera as it approached. If I hadn’t done that, I would have been looking down at the dog, and the beautiful sky would have been lost from the photo.
Aerial Perspective.
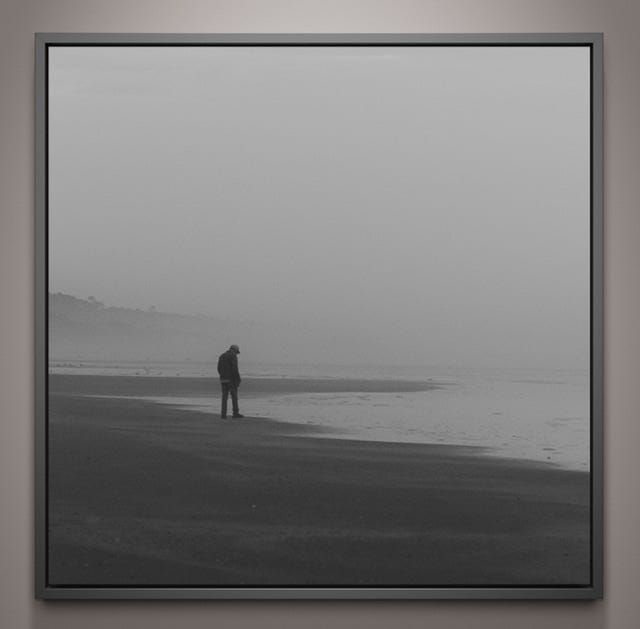
Remember aerial perspective from a few newsletters ago? Below I used atmospheric elements to create the separation between the subject and the background. The fog became the background canvas for the man in black. The late 1950’s 135mm lens is not sharp, but it did what I wanted it to do and compressed the scene. The figure clearly is a human form even though he’s small relative to the size of the image.
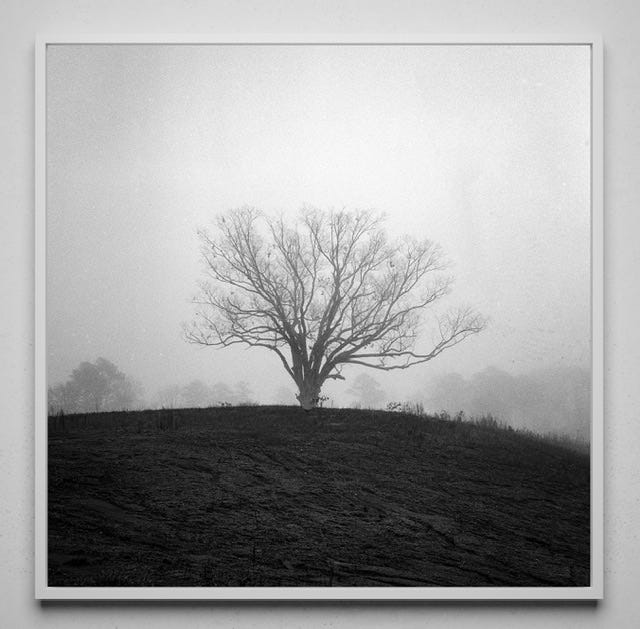
Here’s another example with fog as the atmospheric element and the canvas against which the oak was placed:
Reducing Depth of Field.
In woodland photography it is often difficult to isolate subjects. No one wants a branch appearing to grow out of their subject’s head. You can move the camera to reduce the visual clutter in the background, but sometimes a shallow depth of field works better.
Frames.
Another way to create a canvas for your subject is to use a frame in your photograph to isolate your subject.
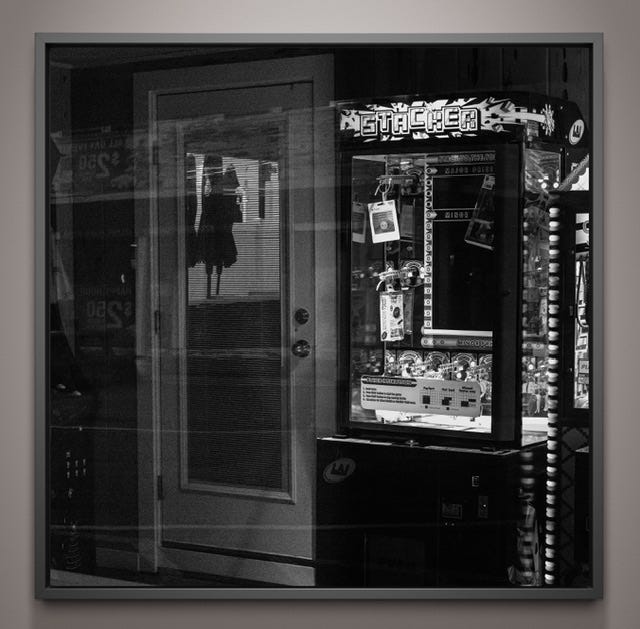
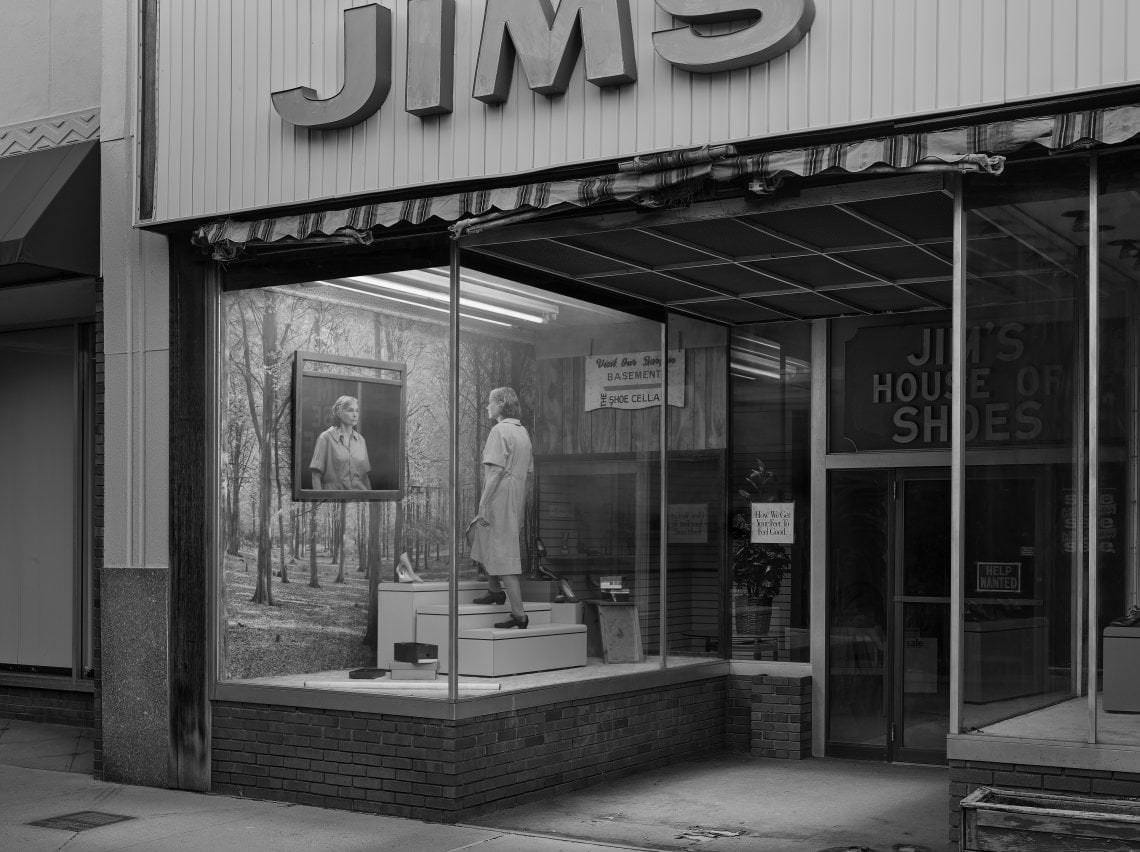
In Little River #3 I framed the human form through the door. Crewdson gets the frame within a frame right in this image from the Eveningside series:
I like how the FGR of the subject’s reflection is stronger. It is subtle and most certainly intentional.
Light.
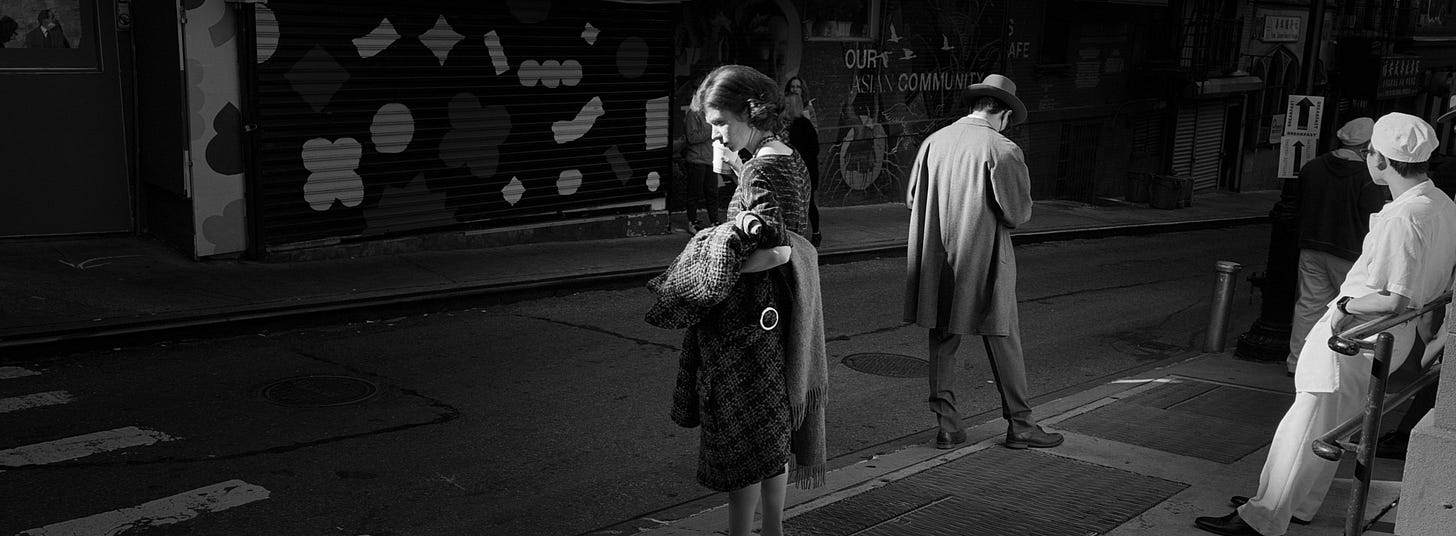
Light your subject the right way and the background disappears. Like magic. No matter what you think of Bruce Gilden, the technique works.
I’ve written about the image below in the article on gazing direction. Here it illustrates how natural light helps separates subjects from background. In this photo there are people directly behind the central subject and the man on the far right. If the light had been even the photograph would not have worked as well.
Post.
In post you can do things to enhance FGR. A simple and effective way in Lightroom is to select the subject and brighten it, then reduce the exposure on the entire image. You can invert the subject mask and do the same thing. If you do it carefully the subject will pop some and you won’t have edge artifacts. I know this is basic and you can do other things like using a brush selectively to create a mask, but the purpose is the same… create separation and contrast to set the subject visually apart from the background.
You can do the same thing in a darkroom with skill and patience. Ansel Adams did it. Richard Avedon’s printer did it. I will go out on a limb and say that most of the famous photographs we know and love that were printed in a darkroom had (at least) some dodging, burning, and contrast adjustments. That is standard darkroom practice. Here’s an example:
As you can see, manipulation of images did not begin with Photoshop 1.0. Note that the primary purpose of the darkroom work on Stock’s James Dean photo was enhancing FGR.
Thanks for reading!
As you might have noticed, I have slightly expanded the newsletter's focus. The re-titled newsletter is Behind the Camera.
I originally envisioned this as a film-based newsletter. While I love the process of using film and the images from it, the things I like to write about are usually not film-specific. No reason exists to limit the audience to a film-only one.
Plus, I have recently decided to get back into some digital photography as I struggle to find time to stay on top of my film workflow. The time I spend developing and scanning is becoming difficult to justify with my work obligations. I’m sure these problems are not unique to me, but that’s what’s going on in my world and I thought I would let you know.






Great read and pictures, thank you! insta-subbed